How to Remove Deodorant Stains From Shirts: 9 Methods That Actually Worked for Me
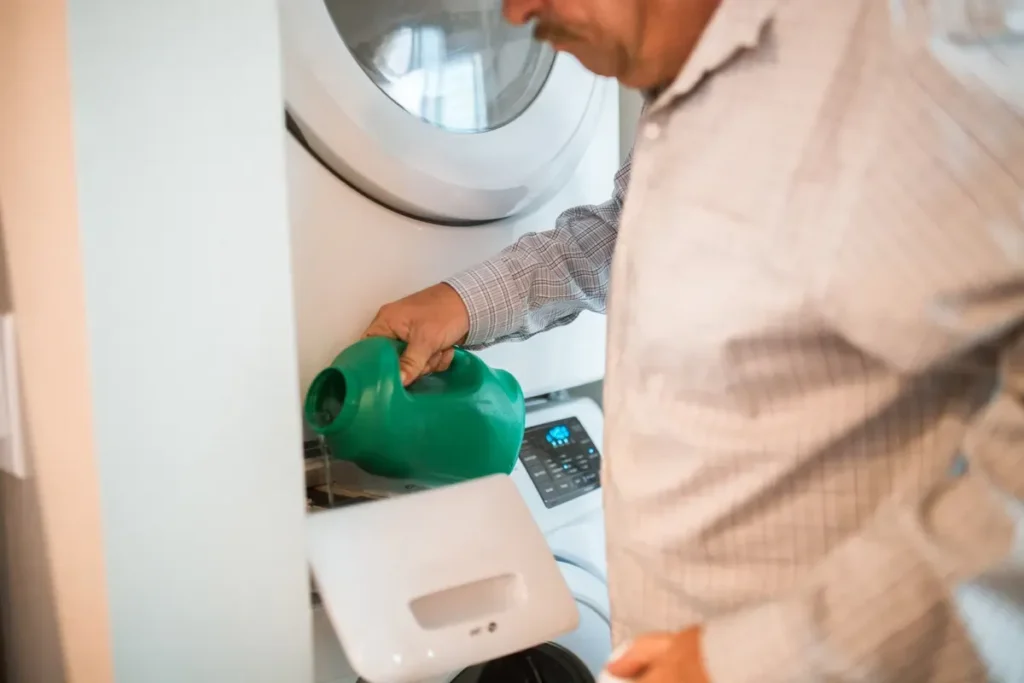
Learning how to remove deodorant stains from shirts changed my mornings completely, because I used to lose at least one good shirt a month to those stubborn yellow underarm marks and chalky white streaks. I would pull a favourite white tee out of the drawer, spot the yellowed armpits, and quietly move it to the back of the wardrobe where it became a cleaning rag. It felt wasteful, and honestly a bit embarrassing, because the shirts were otherwise perfectly fine. Then I spent a few months testing every home remedy I could find — vinegar soaks, baking soda pastes, lemon juice, dish soap, oxygen bleach — on old shirts I no longer cared about, and I finally worked out which methods genuinely work, which ones only work on certain fabrics, and which ones make things worse. This guide is everything I learned, written the way I wish someone had explained it to me: plain, practical, and honest about what each method can and cannot do. Whether your problem is yellow stains on white shirts, white marks on black shirts, or crusty build-up that has been there for months, there is a method here for you.
Table of Contents
What Causes Deodorant Stains on Shirts — and Why They Turn Yellow
The first thing that helped me was understanding what I was actually fighting, because deodorant stains are not all the same thing. The white, chalky marks you see on dark shirts are usually just deodorant residue sitting on the surface of the fabric. They look dramatic but they are the easy problem, and they often come off with a single wash or even a damp cloth. The yellow stains on white and light shirts are a different beast entirely. They form when the aluminium compounds in antiperspirants mix with your sweat, body oils, and laundry detergent over time, and the residue bonds with the fibres. That is why a yellow stain survives an ordinary wash: it is not dirt sitting on the fabric, it is a chemical build-up inside it. Heat makes it worse, which is why a shirt that goes through a hot dryer with a faint stain comes out with a permanent one. Once I understood that, my whole approach changed. I stopped expecting one normal wash cycle to fix the problem, and I started treating stains before they went anywhere near heat.
Before You Start: Three Rules That Save Your Shirts
Before you try any method below, follow three rules that I learned the hard way. First, always read the care label. Silk, wool, and anything marked dry-clean-only should not get the vinegar or peroxide treatments in this guide — take those to a cleaner instead, because a ruined shirt costs more than a professional clean. Second, always test your chosen treatment on a hidden spot, like an inside seam, and wait ten minutes. If the colour changes or the fabric feels stiff, stop and try a gentler method. Third, never put a stained shirt in the dryer until the stain is completely gone. Dryer heat sets stains, sometimes permanently, and I have lost more shirts to impatience at this step than to any stain itself. Air-dry the shirt, check it in good light, and only then decide whether it needs another round or is ready for the dryer.
Method 1: The White Vinegar Soak for Yellow Stains
This is the method I reach for first on white and light-coloured cotton shirts, and it is the one that saved most of my old tees. Mix one part white vinegar with two parts cool water in a basin, and soak just the stained area — or the whole shirt if the stains are large — for 30 minutes. The vinegar helps dissolve the aluminium and mineral build-up that makes yellow stains so stubborn. After soaking, rinse the shirt in cool water, rub a little liquid laundry detergent into the stain with your fingers, and wash as normal in the warmest water the care label allows. Check before drying. On a fresh or moderate stain, one soak is often enough. On an old, deep-yellow stain, I repeat the soak a second time before I even think about the dryer. One warning: do not mix vinegar with hydrogen peroxide in the same treatment, and do not use vinegar on silk or wool.
Method 2: The Baking Soda Paste for Stubborn Build-Up
When a vinegar soak alone does not finish the job, a baking soda paste is my next step, because it gives you gentle scrubbing power without harsh chemicals. Mix three parts baking soda with one part water to form a thick paste, spread it over the stain, and work it into the fabric with an old toothbrush or your fingertips. Let it sit for 30 minutes, then rinse and wash normally. The paste is mildly abrasive, which helps lift crusty, layered build-up that soaking alone cannot shift. I have found this method especially good on the stiff, waxy residue that builds up on shirts worn with heavy antiperspirant use. It is safe for most cotton and polyester shirts, but skip it on delicate fabrics, and do not scrub hard enough to thin the fabric — gentle, repeated treatment beats aggressive scrubbing every time.
Method 3: Lemon Juice and Sunlight for White Shirts Only
This is the oldest trick I tested, and on white cotton it genuinely works, though it needs sunshine and patience. Squeeze lemon juice directly onto the yellow stain, or soak the area in a mix of lemon juice and water, then lay the shirt in direct sunlight for one to two hours. The citric acid and the sun work together as a mild natural bleach. After sunning, rinse thoroughly and wash as normal. I only use this on white shirts, because lemon juice can lighten coloured fabrics and leave a pale patch that looks almost as bad as the stain. It is also not a quick fix for a shirt you need tonight — but if you have a sunny windowsill and a free afternoon, it costs almost nothing and it works surprisingly well on stains that survived a normal wash.
Method 4: Hydrogen Peroxide for Deep Yellow Stains on Whites
For the deepest yellow stains on white shirts — the ones that survived vinegar, baking soda, and sunlight — hydrogen peroxide is the heavyweight option I keep in reserve. Use the standard 3% solution from the pharmacy, apply it directly to the stain, and let it sit for 20 to 30 minutes before washing. For extra power, I mix it into a paste with baking soda and a drop of dish soap. This method lifted stains I had honestly written off, but it comes with a firm rule: whites only. Hydrogen peroxide can bleach coloured fabrics, so never use it on black, navy, or bright shirts, and always test first even on whites with coloured trims or prints. Wear gloves if your skin is sensitive, and rinse well before washing.
Method 5: Dish Soap for Fresh White Marks on Dark Shirts
Fresh white deodorant marks on a black shirt are the easiest problem in this whole guide, and dish soap handles them in minutes. Dampen the area, rub a small drop of plain dish soap into the mark with your fingers, let it sit for five to ten minutes, then rinse and wash normally. Dish soap cuts through the waxy, oily base of deodorant, which is why it works so well on fresh marks. If you are in a hurry and the shirt is otherwise clean, a damp microfibre cloth rubbed firmly over the mark often removes enough of it to get you out of the door — but wash the shirt properly later, because residue left in the fibres becomes tomorrow’s yellow stain. This is the method I use most often, simply because it is fast and I always have dish soap in the kitchen.
Method 6: The Oxygen Bleach Overnight Soak for Old Stains
When a stain has been through the dryer, or has been building up for months, an overnight oxygen bleach soak is my last resort before giving up on a shirt. Dissolve oxygen bleach (sodium percarbonate, sold as OxiClean and similar brands) in warm water following the packet instructions, and soak the shirt for four to six hours or overnight. Oxygen bleach is much gentler than chlorine bleach and is safe for most coloured fabrics, but check the care label and test a hidden spot first. After soaking, wash normally and air-dry. I have rescued shirts with this method that I had already mentally thrown away. The key is patience: a long, cool soak does more than a short, hot one, and rushing this step is the most common reason people say oxygen bleach “doesn’t work”.
Black Shirts: White Marks Are Not the Same Problem
Black and dark shirts deserve their own section, because treating them like white shirts is how people ruin them. White marks on dark shirts are surface residue, not bonded stains, so start with the gentlest option: a damp cloth, a baby wipe, or a quick rub with a piece of nylon stocking, which lifts residue surprisingly well. For marks that survive that, use the dish soap method above. What you should not do is reach for vinegar soaks, lemon juice, or hydrogen peroxide on dark shirts — these can fade or lighten the fabric around the stain and leave a pale patch. Also avoid chlorine bleach entirely on dark clothes. If a dark shirt has a stiff, crusty underarm area rather than surface marks, that is long-term build-up, and a gentle soak in cool water with liquid detergent, followed by a normal wash, is the safest approach.
What NOT to Do: Mistakes That Set Stains Permanently
I ruined enough shirts to write this section from experience, so please learn from my mistakes. Do not use chlorine bleach on coloured shirts, and do not use it on white shirts with yellow deodorant stains either — chlorine bleach can react with the aluminium residue and turn yellow stains even yellower. Do not put a stained shirt in a hot dryer before checking it. Do not scrub with a stiff brush or scouring pad, which thins the fabric and leaves a worn patch. Do not mix vinegar and hydrogen peroxide together, and do not mix bleach with any other cleaner. And do not assume that a stronger product means a better result: on delicate fabrics, a gentle detergent soak repeated twice beats one aggressive chemical treatment that damages the shirt. If you want a second opinion on the general stain-removal steps, the Maytag guide to getting stains out of white clothes is a solid, manufacturer-backed reference — I link it here because its step-by-step approach matches what worked for me: https://www.maytag.com/blog/washers-and-dryers/how-to-get-stains-out-of-white-clothes.html
How to Prevent Deodorant Stains From Coming Back
Removing stains is satisfying, but preventing them is better, and small habit changes made the biggest difference for me. Let deodorant dry completely before you get dressed — even two minutes helps, because wet product transfers straight onto fabric. Use a little less product than you think you need; most people apply far more than necessary, and the excess is what builds up. If yellow stains are a recurring problem, try switching to an aluminium-free deodorant for everyday wear and keeping antiperspirant for high-sweat days. Wash shirts promptly instead of leaving sweaty shirts in the laundry basket for a week, because time and body heat help stains bond. And lay out tomorrow’s shirt the night before so you can spot a mark in good light instead of discovering it at 7am — that one small habit, which I picked up when I started working on how to start a morning routine (https://gameversehub.co.uk/how-to-start-a-morning-routine/), has saved me more rushed mornings than I can count.
The Bottom Line: How to Remove Deodorant Stains From Shirts Without Ruining Them
If you remember nothing else from this guide, remember this simple order: identify the stain type, treat before heat, and go gentlest first. Fresh white marks on dark shirts need only dish soap and a rinse. Yellow stains on whites respond to a vinegar soak, then a baking soda paste, then hydrogen peroxide or an overnight oxygen bleach soak for the stubborn ones. Dark shirts need gentle methods only, and the dryer stays off limits until the stain is gone. I still get deodorant stains — everyone who wears antiperspirant does — but I no longer lose shirts to them, and my wardrobe lasts noticeably longer than it did two years ago. Start with the method that matches your shirt and your stain, be patient with the soak times, and check in daylight before you dry. Your favourite shirts will thank you.
Can you remove deodorant stains from shirts that have already been through the dryer?
Yes, often, but it takes more work. Try an overnight oxygen bleach soak, or repeat the vinegar soak and baking soda paste twice. Dryer heat bonds the stain to the fibres, so old stains may fade rather than disappear completely — but I have still rescued shirts I thought were finished.
Does white vinegar damage coloured shirts?
White vinegar is generally safe for most coloured cotton and polyester shirts when diluted, but it can affect some dyes and delicate fabrics. Always test on a hidden seam first, and never use it on silk or wool.
How do I remove deodorant stains from black shirts without fading them?
Use gentle methods only: a damp cloth for surface marks, or dish soap and cool water for stubborn ones. Avoid vinegar soaks, lemon juice, hydrogen peroxide, and chlorine bleach on dark fabrics, because all of them can lighten the colour.
Why do my white shirts keep turning yellow even after washing?
The yellow colour comes from aluminium in antiperspirant reacting with sweat and detergent residue, and normal washing does not break that bond. Treating the stain before washing — with a vinegar soak or baking soda paste — and keeping the shirt out of the dryer until the stain is gone breaks the cycle.
Is baking soda or vinegar better for deodorant stains?
They do different jobs and work best together: vinegar dissolves mineral and aluminium build-up, while baking soda paste lifts crusty surface residue. For a typical yellow stain, I soak in vinegar first and follow with a baking soda paste if any mark remains.
Can I use bleach to remove deodorant stains from white shirts?
Oxygen bleach is safe and effective on whites. Chlorine bleach is not recommended for deodorant stains, because it can react with the residue and make yellow stains worse. If you use any bleach, check the care label first.